Over the internet, you might see the social login options along with the username and password fields. For example, when you trying to sign up for the Quora, you might see the other options to sign up such as “Continue with Google” and “Continue with Facebook”.
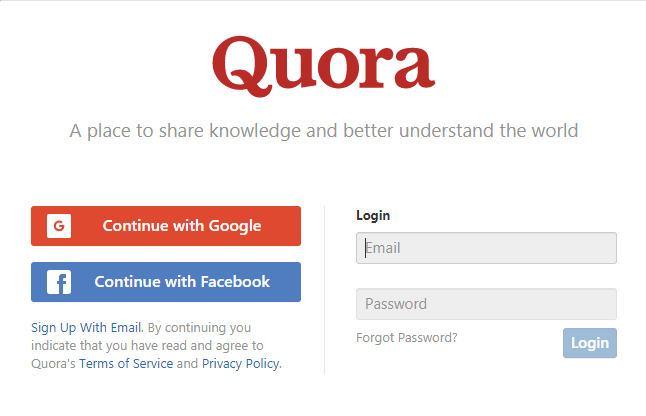
For now, I am considering you choose “Continue with Facebook”, Once you choose and press on “Continue with Facebook”, you will redirect to Quora Homepage where you can see your Facebook profile picture, username, etc.
These features can be achieved with the help of OAuth 2.0 authorization. I have already explained about How this flow works in detail in a separate tutorial, if you want to explore please follow this link How do OAuth 2.0 works? Understand in very simple words.
I have also provided a Video Tutorial where I explained in detail how Social login flow works.
In this tutorial we are going to implement the Social Sign up or login in our Spring Boot Application.
Follow each and every steps to build the application from scratch.
Note: Source code is available in the bottom section of this article.
Video Tutorial is available in bottom section of this article.
Step 1: Create a Project from Spring Initializr.
- Go to the Spring Initializr.
- Enter a Group name, com.pixeltrice.
- Mention the Artifact Id, spring-boot-facebook-login-app
- Add the following dependencies,
- Spring Web.
- Spring Security.
Step 2: Click on the Generate button, the project will be downloaded on your local system.
Step 3: Unzip and extract the project.
Step 4: Import the project in your IDE such as Eclipse.
Select File -> Import -> Existing Maven Projects -> Browse -> Select the folder spring-boot-facebook-login-app-> Finish.
Step 5: Add the spring-security-oauth2-client dependency on our pom.xml
<dependency>
      <groupId>org.springframework.security</groupId>
      <artifactId>spring-security-oauth2-client</artifactId>
</dependency>
Step 6: Configure the Facebook properties in application.yml file.
spring:
  security:
    oauth2:
      client:
        registration:
           facebook:
              clientId: myID
              clientSecret: mySecret
              accessTokenUri: https://graph.facebook.com/oauth/access_token
              userAuthorizationUri: https://www.facebook.com/dialog/oauth
              tokenName: oauth_token
              authenticationScheme: query
              clientAuthenticationScheme: form
              resource:
                 userInfoUri: https://graph.facebook.com/me

server:
  port: 8080
Note: We will get clientId and clientSecret from the Facebook developer dashboard.
Steps to get the clientId and clientSecret.
- Create a Facebook developer account. https://developers.facebook.com/ (Login as your existing Facebook credentials).
- Click on Create First App.
- Choose “For Everything Else”.
- Give any name for App in the Facebook developer account and click on the Create App Id button.
- Now to the Dashboard section and Select Basic under the Setting Option.
- You will able to see your APP_ID and APP_SECRET.
- Copy and paste it in the application.properties file.
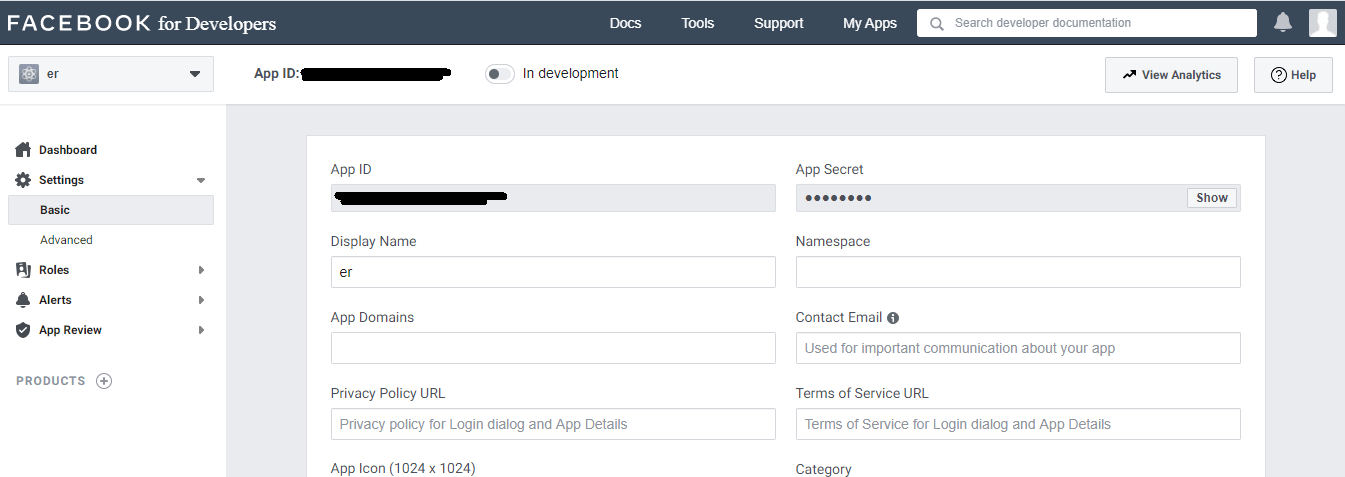
Note: It is highly recommended never ever share your Facebook APP_ID and APP_SECRET with anyone or anywhere over the internet.
Step 7: Spring Boot Application main class.
package com.pixeltrice.springbootfacebookloginapp;

import org.springframework.boot.SpringApplication;
import org.springframework.boot.autoconfigure.SpringBootApplication;

@SpringBootApplication
public class SpringBootFacebookLoginAppApplication {

	public static void main(String[] args) {
		SpringApplication.run(SpringBootFacebookLoginAppApplication.class, args);
	}
}
Step 8: Add the index.html in the src/main/resources/static
In this step we are adding some HTML for the displaying the Home page.
<!DOCTYPE html>
<html>
<head>
    <meta charset="utf-8"/>
    <meta http-equiv="X-UA-Compatible" content="IE=edge"/>
    <title>Demo</title>
    <meta name="description" content=""/>
    <meta name="viewport" content="width=device-width"/>
    <base href="/"/>
    <link rel="stylesheet" type="text/css" href="/webjars/bootstrap/css/bootstrap.min.css"/>
    <script type="text/javascript" src="/webjars/jquery/jquery.min.js"></script>
    <script type="text/javascript" src="/webjars/bootstrap/js/bootstrap.min.js"></script>
</head>
<body>
<h1 class ="m-5">Welcome to Spring Boot Application</h1>
</body>
</html>
If you noticed in the above HTML file we are using a link tag and script tag inside the head section. That is the bootstrap library of CSS Style. The purpose is only to make our application look good from the UI aspect.
To activate that we need to add the following dependencies.
<dependency>
	<groupId>org.webjars</groupId>
	<artifactId>jquery</artifactId>
	<version>3.4.1</version>
</dependency>
<dependency>
	<groupId>org.webjars</groupId>
	<artifactId>bootstrap</artifactId>
	<version>4.3.1</version>
</dependency>
<dependency>
	<groupId>org.webjars</groupId>
	<artifactId>webjars-locator-core</artifactId>
</dependency>
Note: Up to now when you run the application and go to localhost:8080, you will automatically redirect to the Facebook login page, once you enter your login credentials, you will finally redirect to our application homepage, and you will see the message “Welcome to Spring Boot Application”.
But it is not a good practice from an end-user point of view, we should prevent the automatic redirection to the Facebook login page, instead, we should provide a button or link in our homepage, so that end-user will choose whether they want to signup or authenticate with their Facebook account or just stay unauthenticated.
Step 9: Add a explicit Facebook SignIn button to our Spring Boot Application.
For this purpose we need to add following div tag inside the body of index.html
<div class="container unauthenticated">
     <a href="/oauth2/authorization/facebook" type="submit" class="btn btn-lg btn-success"
      style="align : center">Continue with Facebook</a>

</div>
<div class="container authenticated" style="display:none">
   <h2> Logged in as: <span id="user" class ="text-primary"></span></h2>
</div>
When the user first time visited our application, then by default only the first tag will appear, where the user can able to see the button to Continue with Facebook.
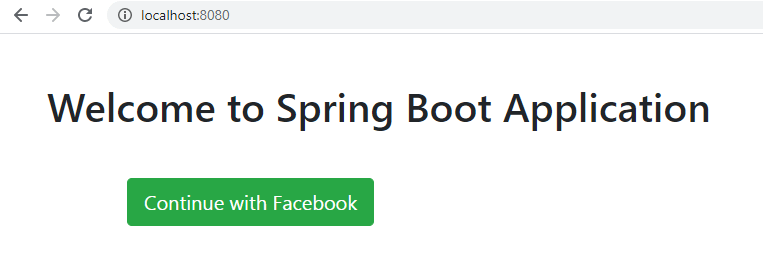
And another tag will only visible when the user has been authenticated with Facebook and it will display the Facebook profile name of the user in our Spring Boot Application.
But to achieve above feature we need to add some javascript inside the body tag, as shown below.
<script type="text/javascript">
    $.get("/user", function(data) {
        $("#user").html(data.name);
        $(".unauthenticated").hide()
        $(".authenticated").show()
    });
</script>
Once the user gets authenticated with Facebook, the script tag will get executed and the very first thing, it will call the /user Endpoint or API, from where it will get the Facebook profile name of the user and display it in our Spring Boot Application.

So we need to create a controller class to define the /user API.
Hence, our final index.html file will look like as shown below.
index.html
<!DOCTYPE html>
<html>
<head>
    <meta charset="utf-8"/>
    <meta http-equiv="X-UA-Compatible" content="IE=edge"/>
    <title>Demo</title>
    <meta name="description" content=""/>
    <meta name="viewport" content="width=device-width"/>
    <base href="/"/>
    <link rel="stylesheet" type="text/css" href="/webjars/bootstrap/css/bootstrap.min.css"/>
    <script type="text/javascript" src="/webjars/jquery/jquery.min.js"></script>
    <script type="text/javascript" src="/webjars/bootstrap/js/bootstrap.min.js"></script>
</head>
<body>
<h1 class ="m-5">Welcome to Spring Boot Application</h1>

<div class="container unauthenticated">
     <a href="/oauth2/authorization/facebook" type="submit" class="btn btn-lg btn-success"
      style="align : center">Continue with Facebook</a>

</div>
<div class="container authenticated" style="display:none">
   <h2> Logged in as: <span id="user" class ="text-primary"></span></h2>
</div>

<script type="text/javascript">
    $.get("/user", function(data) {
        $("#user").html(data.name);
        $(".unauthenticated").hide()
        $(".authenticated").show()
    });
</script>

</body>
</html>
Step 10: Create a Controller class.
UserController.java
package com.pixeltrice.springbootfacebookloginapp;

import java.util.Collections;
import java.util.Map;

import org.springframework.security.core.annotation.AuthenticationPrincipal;
import org.springframework.security.oauth2.core.user.OAuth2User;
import org.springframework.web.bind.annotation.GetMapping;
import org.springframework.web.bind.annotation.RestController;

@RestController
public class UserController {

	 @GetMapping("/user")
	    public Map<String, Object> user(@AuthenticationPrincipal OAuth2User principal) {
	        return Collections.singletonMap("name", principal.getAttribute("name"));
	    }
}
This endpoint contains the logged-in Facebook profile name of the user and it will return the value in the form of Map. {name: Your name}.
After following all the above steps, when we visit localhost:8080, it still automatically redirect to Facebook login, so in order to prevent we have to include some Spring Security configuration feature as shown in the next step.
Step 11: Adding the SecurityConfig.java
package com.pixeltrice.springbootfacebookloginapp;

import org.springframework.context.annotation.Configuration;
import org.springframework.http.HttpStatus;
import org.springframework.security.config.annotation.web.builders.HttpSecurity;
import org.springframework.security.config.annotation.web.configuration.WebSecurityConfigurerAdapter;
import org.springframework.security.web.authentication.HttpStatusEntryPoint;

@Configuration
public class SecurityConfig extends WebSecurityConfigurerAdapter {

	  @Override
	    protected void configure(HttpSecurity http) throws Exception {
	        http.authorizeRequests(a -> a
	            .antMatchers("/", "/error",                "/webjars/**").permitAll()
	            .anyRequest().authenticated()
	            )
	            .exceptionHandling(e -> e
	                .authenticationEntryPoint(new HttpStatusEntryPoint(HttpStatus.UNAUTHORIZED))
	            )
	            .oauth2Login();
	    }
}
Now, all the HTTP request has to be authenticated except “/”, “/error” and /webjars/**. Hence when we visit localhost:8080, then it will not redirect to the Facebook login page, we can able to see our homepage(“/”) without any authentication.
But we cannot able to access the “localhost:8080/user” without authentication. Once the user is successfully authenticated, then they can access the /user endpoint or API.
Step 12: Run the Application
Once we run the application and visit localhost:8080, then our screen we will like as shown in the figure.
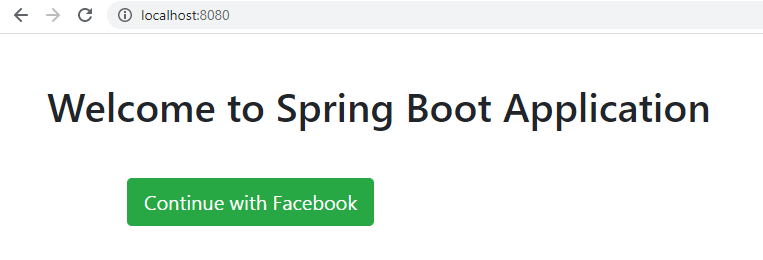
Click on Continue with Facebook button. then it will redirect to facebook login screen.
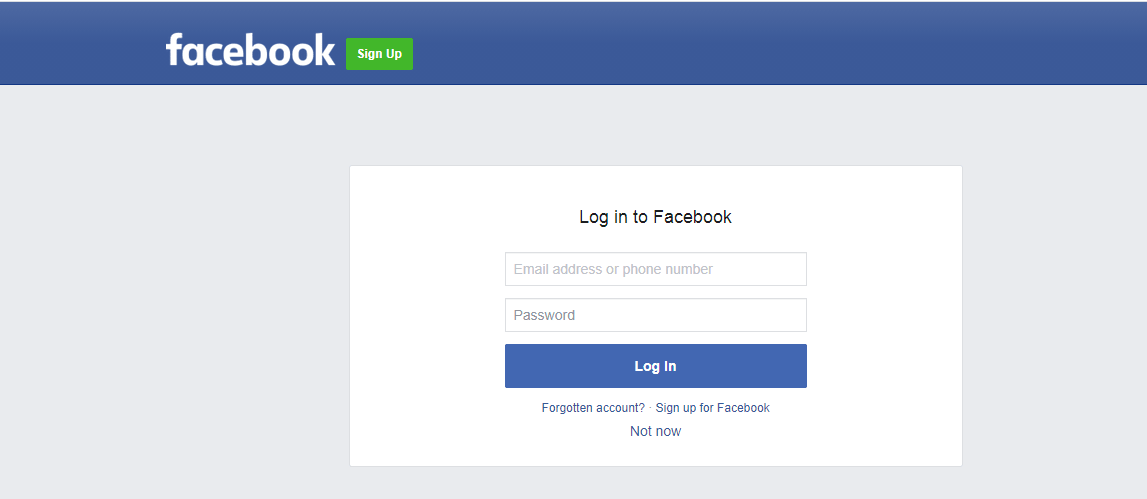
Once we enter the current login credentials it will redirect to our application where the Facebook profile name will be displayed.

Summary
Thank You so much for reading the article. I hope you get a chance to learn something new today, If you have any queries or doubt please feel free to ask in comment section, I will definetly solve your doubt.
You might also like this article.
- Payment Integration With Paytm in Spring Boot Application
- Send OTP(One Time Password) Using Spring Boot Application for Authentication
- Make a Voice Call from Spring Boot Application to Mobile Phone
- How to send email using Spring Boot Application
- Spring Boot Security using OAuth2 with JWT
- Build Spring Boot Restful CRUD API with Hibernate and Postgresql from scratch